When using Google Router with CC Communications email, you may need to update the Google Router DNS settings from DNS to ISP DNS. Please see the following Support article for a step by step tutorial on how to change the DNS settings.
1. Open the Google Wi-Fi app.

2. Tap the settings tab, then Network & general
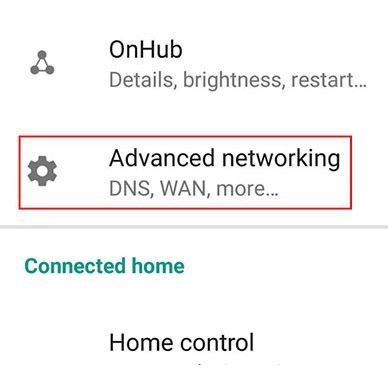
3. Tap Advanced networking E DNS.
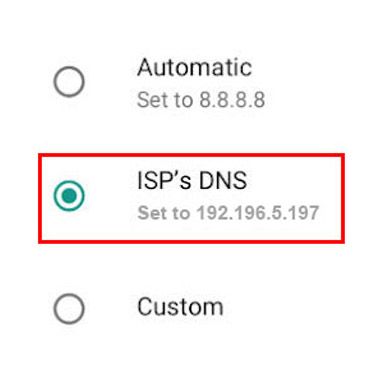
4. Choose your desired DNS. Choose the ISP’s DNS option, if available.

5. Tap Save.